Walnut Picture Frame – Part 6…COMPLETE!
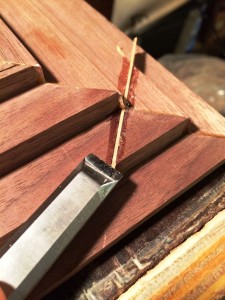
Once the glue was dry on the splines I could flush trim them. I used a paring chisel to get them close, then a combination of the shoulder plane and rabbet block plane to finish the trimming.
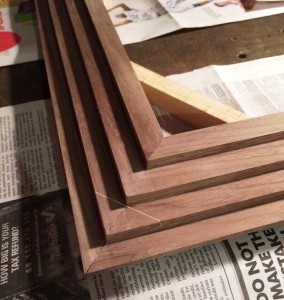
I also flushed up my miter joints at the same time. After trimming and flushing, the gaps that I noticed before aren’t readily noticeable, so I’m going to go ahead and leave them be. I’m liable to make them worse if I try anything!
After doing some smooth planing to the sides, top, and back, the picture frame is all ready for finish.
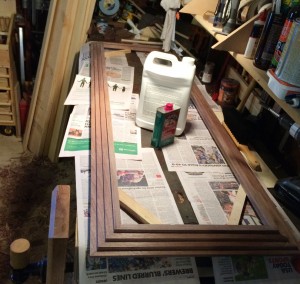
I want a real natural finish that won’t detract from the contents of the frame. I decided on just one coat of 50/50 low gloss tung oil/mineral spirits. It should also dry quickly, which is nice because I needed it the following day.
The first step was to clean the surface with mineral spirits. Once clean, I flooded the surface with the tung oil mixture.
I let the mixture soak in for about 30 minutes, re-applying oil to the spots that started to dry out. After about 30 minutes I wiped everything off with a clean rag and let the frame dry overnight.
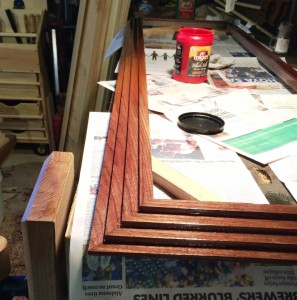
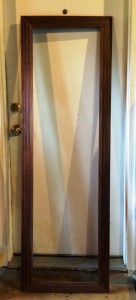
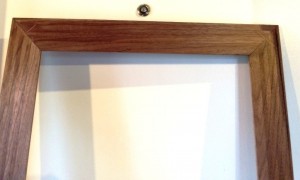
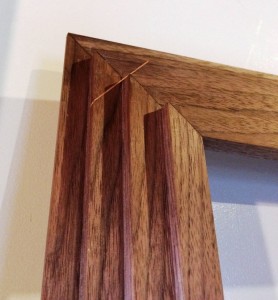
I think it came out great! The oil gave it a nice rich depth, without coming out too glossy. The oak splines also give it a really nice contrasting detail. There is a small crack that came through on one of the corners, but not really a big deal. It doesn’t go all the way through, and I think it gives it a more rustic look.
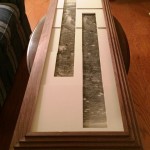
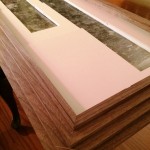
While I was doing all the woodworking, my sister was working on the matting. She used to be a professional framer, so was able to do most of the work without the frame, luckily. Here is the completed frame with mat:
- Framed and Matted
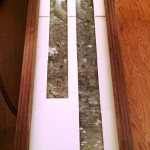
- Framed and Matted
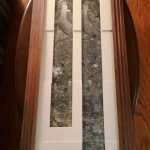
- Framed and Matted
- Framed and Matted
She used the same stepped design from the frame, on the mat. I think it turned out great. The stepped frame and mat work really well together and give a nice zoom effect, which fits with the panoramic satellite subject picture.
If you missed the first few parts, here are some quick links back to them, enjoy!

Leave a Reply