Walnut Picture Frame – Part 3…
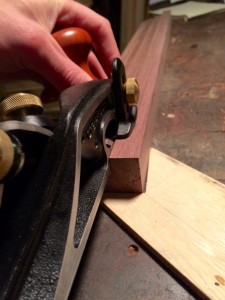
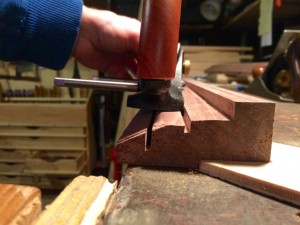
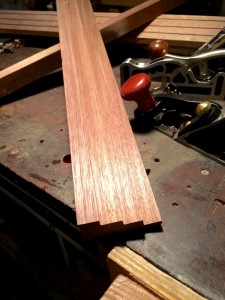
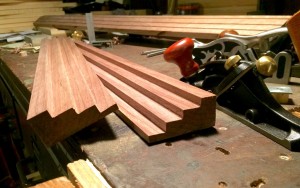
I hadn’t fully come up with a plan to cut the multiple rabbets last time, but I think I have a good handle on it now. What I ended up doing was taking a few passes on each “step” with the shoulder plane to make sure I could use the next highest “step” as a guide fence. Then I switched to the Veritas Skew Rabbet plane for the bulk of the material removal.
The rabbet plane is much more comfortable to use (over the shoulder plane), but I couldn’t start there because I couldn’t use the normal fence with it. I adjusted the blade so it was inline with the side of the plane (it normally protrudes just a tad to cut nice clean rabbet corners) and used the taller step as a guide. Once I was down to about the right depth, I switched back to the shoulder plane to clean up the corners.
I’ll square up everything once I get all the pieces shaped and miter cut to size. My rabbet planing tended to lose squareness at the beginning and ends, which may be removed when I cut the miters, so I’d like to hold off on the final squaring until then.
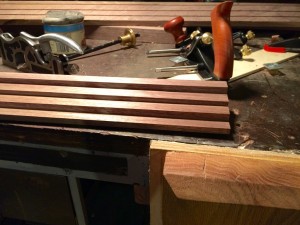
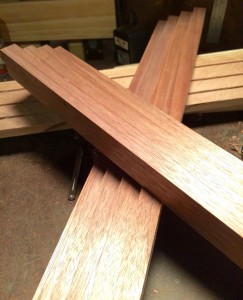
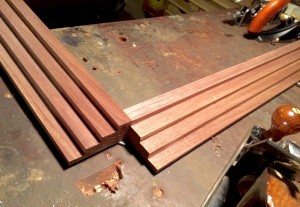
I got the two shorter pieces completed last night, now it’s just a matter of doing the two long ones.
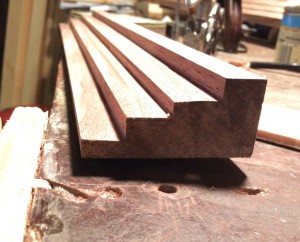
You can get the basic idea of the final frame shape below. I think it’ll look pretty good when it’s done. It’s certainly a large frame and will stick out from the wall quite a bit, but the matting design should reflect that.

[…] so am a little behind on the walnut picture frame, but I got some nice work done this weekend. Last time, I left off after shaping the two shorter pieces. I used the same technique with the shoulder and […]
[…] Part 3 […]